Arduino menu with one button without LCD
Related articles
One button menu
This menu works without an LCD display and only requires one button and one LED. But it still has as many options as an LCD menu. The advantage of this menu is that it can be used for devices that do not have an LCD display.
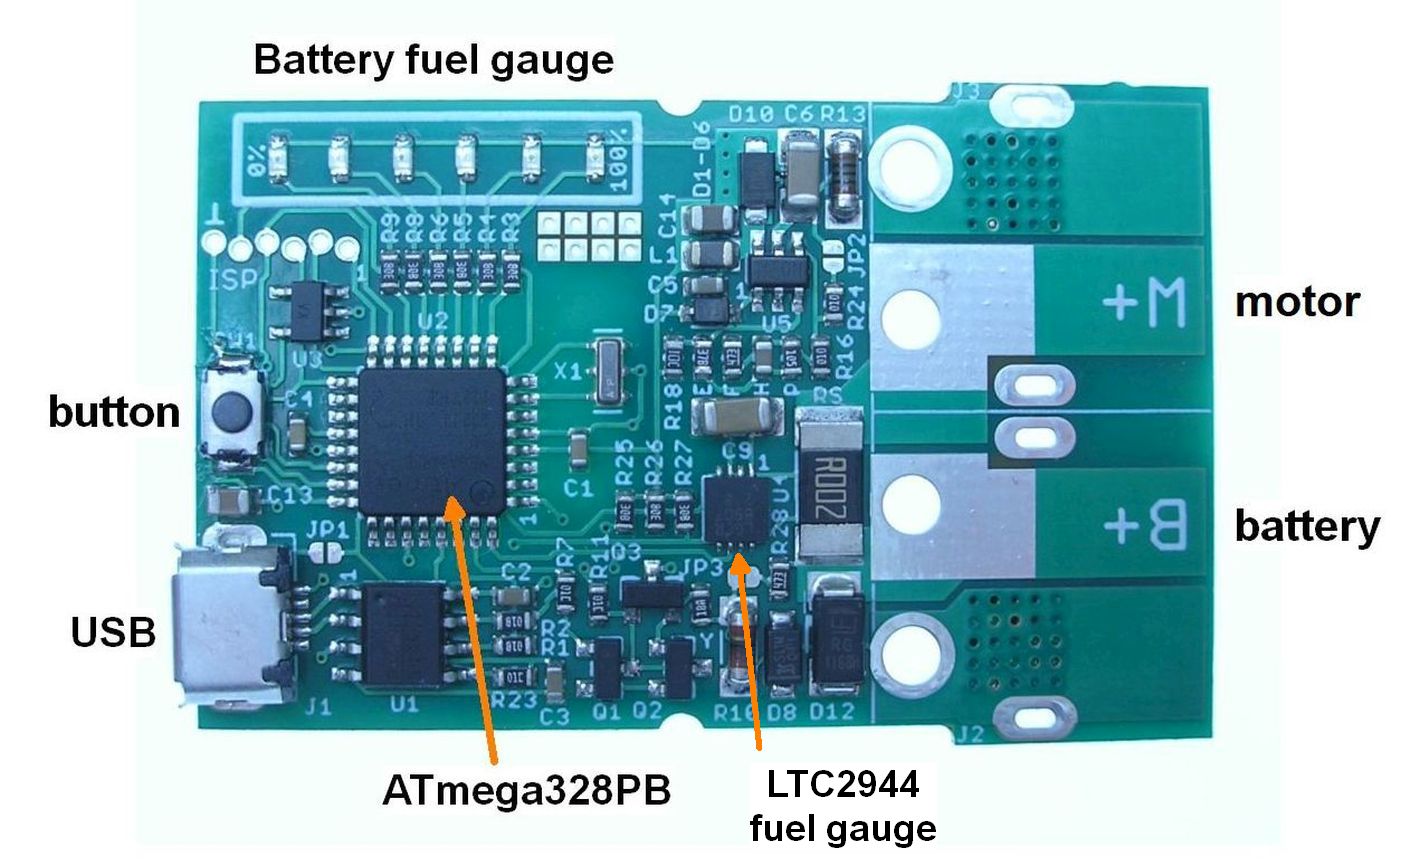
The menu has been developed for the Yamaha Battery Dongle. It was challenging to find an intuitive and efficient way to browse and set options with just one button and one LED, as opposed to conventional menu interfaces that use an LCD display with multiple buttons.
 Arduino menu with one button without LCD
An example of the one button menu
The Bluetooth Wattmeter serves as an example. It has 5 sub-menus:
 Arduino menu with one button without LCD
As you can see, the Bluetooth Wattmeter has only one button.
Menu selection
Click the button for 2 seconds to select. The leds will now flash. Example: to select menu 2, click after the second flash, the selected menu will be executed.
Menus 1-5
- Set the specified battery capacity in Ampere hour [Ah]. This is default set to 12Ah. See also “Set battery capacity”. To show the Ah value, see menu 2.
- Show the specified battery capacity in [Ah]. See also “Show values”.
- Set the fuel gauge temporarily to full. Don't use this, its only for testing.
- Set a new charge cutoff voltage. Enter this menu when the battery is fully charged. The battery voltage will be measured and stored automatically. The default value is 41V.
- Show the charge cutoff voltage. See also “Show values”.
Set the specified battery capacity
We have to set the battery capacity manually before use. The default value is 12Ah. The allowed range is from 1.0Ah to 69.0 Ah.
- The ledbar flashes fast.
- Enter the tens 1*)
- The ledbar flashes fast.
- Enter units.
- The ledbar flashes fast.
- Enter the decimal. You can skip the decimal by doing nothing anymore.
1*) For a zero: click the button immediately after the ledbar flashes fast. For a number n from 1-9: click after n flashes.
Example 23Ah
- The ledbar flashes fast.
- Count 2 led flashes and then click.
- The ledbar flashes fast.
- Count 3 led flashes and then click.
- The ledbar flashes fast.
- Click the button immediately or do nothing anymore.
For the rest of the menu, see the Bluetooth Watt meter user manual.
Cost savings through DIP switch replacement
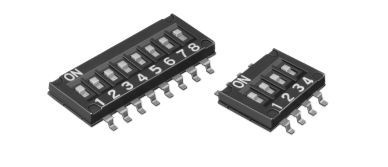
Additionally, this menu system can replace conventional DIP switches typically found on printed circuit boards for microprocessor based electronics. The disadvantage of DIP switches is that they take up space and cannot be expanded afterwards. Note that especially 1.27mm pitch dip switches are expensive.
 DIP switches instead of a menu
 One button and one LED menu replaces DIP switch
Software
I haven't had time to make a nice library of the one button menu yet.
Download at GitHub.


