Yamaha mid-drive motor dongle to use 3rd party batteries
- Introduction
- See also
- Shop
- Compatibility
- Questions
- Hacking the Yamaha battery
- User manual
- Battery authentication, how does it work
- Fuel gauge with the LTC2944
- Characteristics of the Yamaha battery dongle
- F.A.Q.
- Using AMASS connectors
- Dongle installation
- Charging
- How to charge a removed battery?
- Disabling the power-saving function
- Troubleshooting
- Functional test
- Example of other use
- Protected data output circuit
- Warning: E-bike batteries can be a serious hazard
- History
- Dongle during development
- Links
Introduction
This device has two uses:
- Yamaha mid-drive motor battery hacking dongle to use any 3rd party battery instead of the original Yamaha battery. Described in this article.
- Bluetooth Watt meter dongle for use as fuel gauge and Watt meter.
See also
- User manual
- Maxun e-kit cable killer
- Bluetooth Watt meter cockpit
- Bluetooth Watt meter dongle
- Two-wire current-controlled bus
Shop
For the Netherlands, Belgium and Germany, you can order via my Tindie shop and these are shipped from the Netherlands:
For other countries, you can buy the dongles from Elecrow in China and they are shipped from China. Note: choose economy express shipping, because than there are no additional costs when the package arrives, because the import duties have been paid in advance.
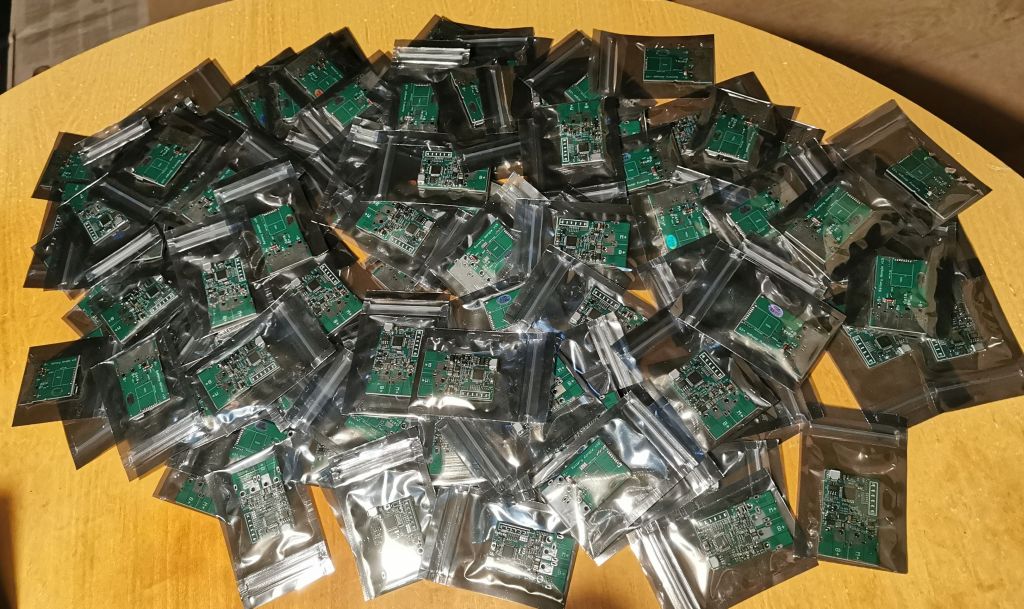 Yamaha battery dongles for sale
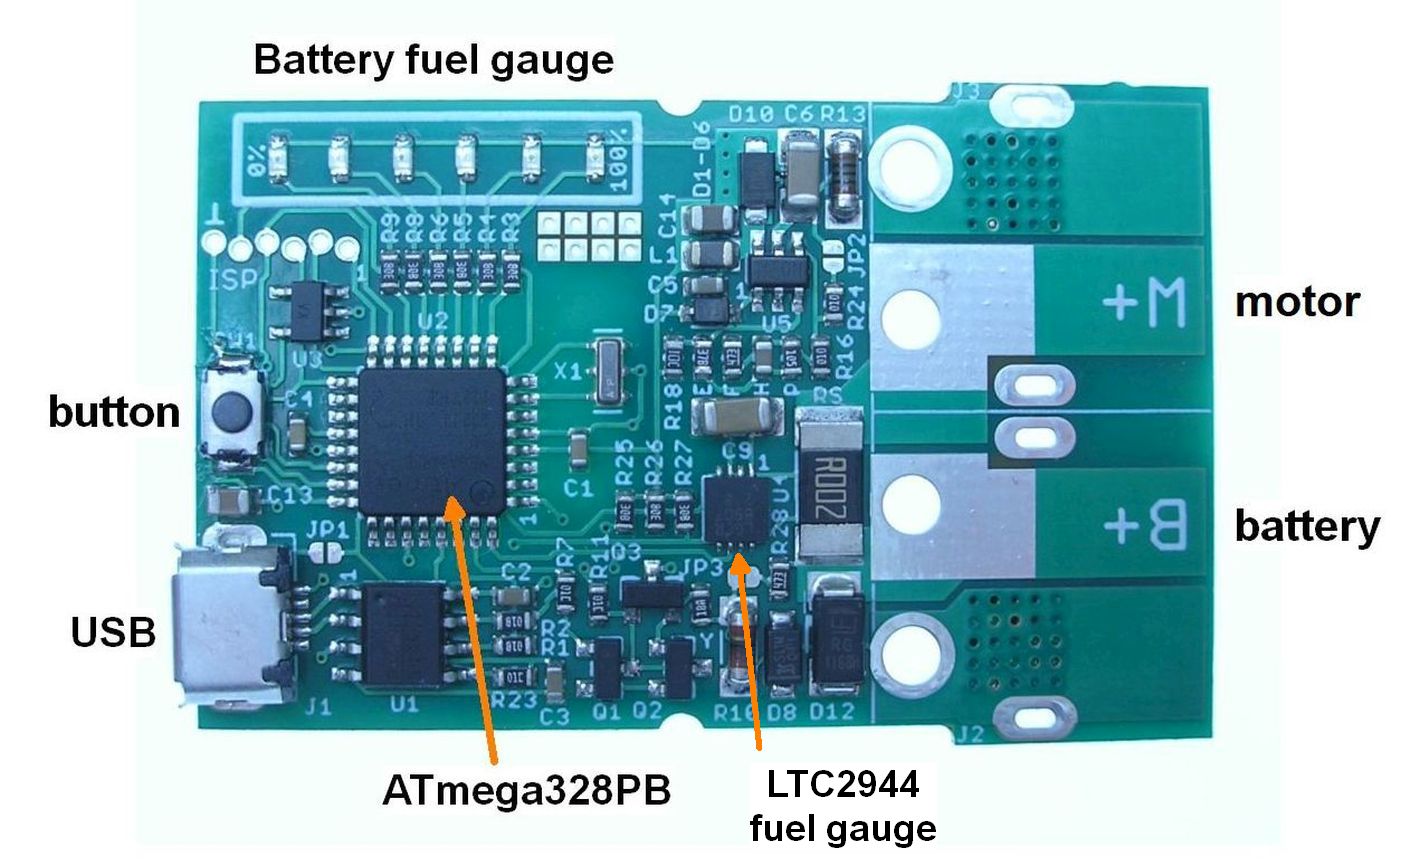 Yamaha battery hack / Wireless battery Fuel Gauge / Watt meter
Compatibility
The dongle is compatible with all Yamaha systems, except those with a CAN bus.
CAN bus systems are: Giant Syncdrive motor and the Yamaha PW-X3.
Please check this before purchasing the dongle.
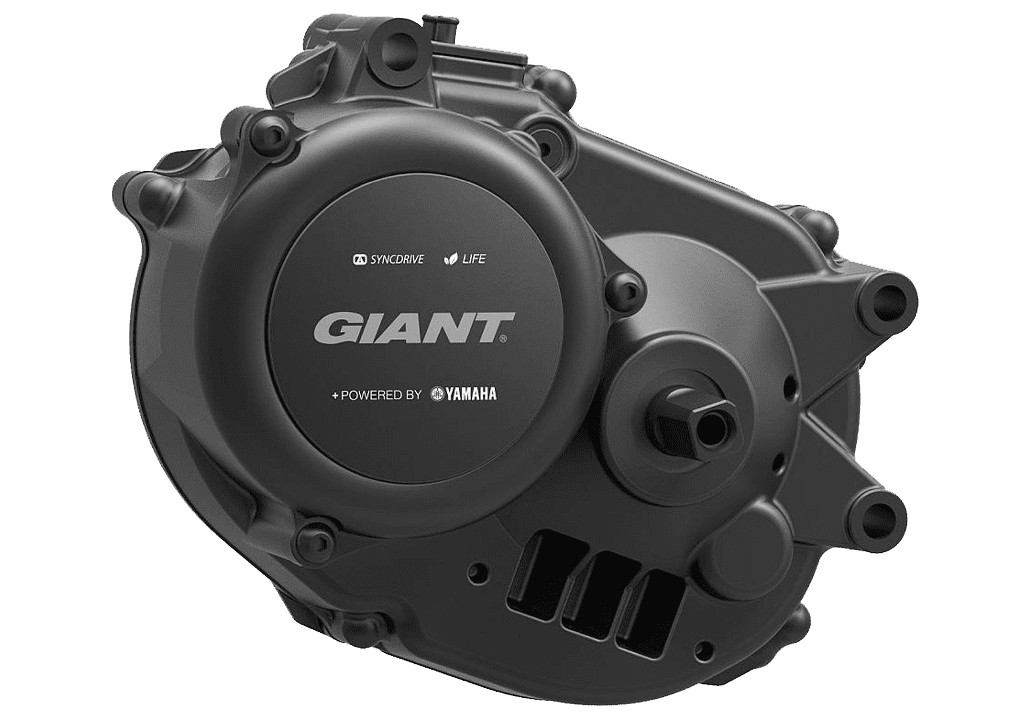 Giant Syncdrive NOT compatible
 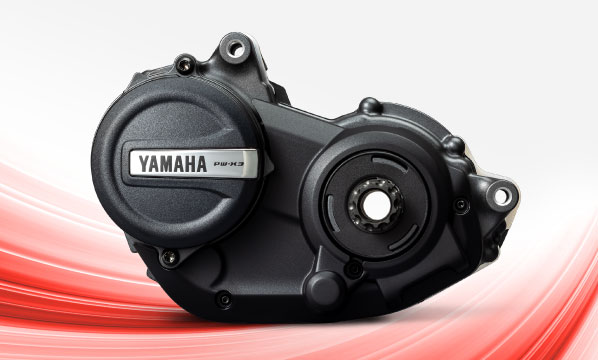 Yamaha PW X3 NOT compatible
Here is an example of a dongle-compatible Yamaha frame battery connector with 4 wires: +, -, charging cable and data cable:
 Yamaha frame battery connector
Yamaha PAS Babby
Problems have been reported with the Japanese Yamaha PAS Babby e-bike. The dongle needs to be disconnected from the battery each time. It is unclear whether this can be resolved with an additional switch.
Questions
Please post your questions about the Yamaha dongle on this Endless Sphere discussion topic.
Hacking the Yamaha battery
 Yamaha mid-drive motor dongle to use 3rd party batteries
As with other brands, the Yamaha mid-drive motors doesn't allow to use any 3e party battery. But with the use of the dongle described here, the Yamaha ebike will be hacked so that you can use any battery instead of the original expensive Yamaha battery.
At electric bicycles, only a battery of the own brand can be used, that is product tying and is prohibited, see my article HERE. If the same existed for cars, the 12V battery could not be replaced by any other battery, which is of course very undesirable. As with other brands, the Yamaha motor blocks also if another battery is used. But a Yamaha ebike can easily be hacked because Yamaha doesn't use any encrypted authentication.
To develop a hack, GamerPaddy re-engineered the Yamaha mid-drive motor at the Pedelec-Forum. The battery dongle described here is based on the hack from GamerPaddy, but has several improvements such as the fuel gauge with the LTC2944.
User manual
To correctly display the battery capacity on the Yamaha display and the 6 LEDs, the battery capacity must be set on the dongle, see User manual. Normally you only need to use the menu once, when installing a new dongle or when the battery capacity changes.
- Set the specified battery capacity with menu 1
- Fully charge the battery
- Set a new charge cutoff voltage with menu 4
Battery authentication, how does it work
As with all e-bike motor manufacturers, the motor blocks when detected that is not the same brand. Note that this is unallowed product tying, see my article Product tying.
The data line is a so-called open collector system that allows the battery to send data to the motor. The 4.7kOhm pull-up resistor to 5V is located inside the motor. Both the motor and the Yamaha battery have an open collector output by which they send the data. After power on, the motor makes the data 5V for a few seconds. The motor is now waiting for a correct data signal from the battery. If no correct data is received after two seconds or so, the motor makes the data 0V and the system is turned off.
If something doesn't work you can check if the data is 5V for a few seconds after power on.
Fuel gauge with the LTC2944
The Yamaha battery has a fuel gauge built in and the battery capacity is sent to the display via a data cable. If a battery other than the Yamaha battery is used, the capacity should be measured externally.
Therefore, the dongle also measures the battery capacity which will be displayed on the Yamaha display and the 6 dongle LEDs.
Characteristics of the Yamaha battery dongle
- You can use any battery on your Yamaha ebike instead of an expensive original Yamaha battery.
- It is suitable for all kind of batteries from 24V up to 48V, provided that the maximum voltage never exceeds 60V.
- The battery capacity is measured very accurately with an LTC2944 fuel gauge IC, not just simple voltage measuring.
- Fuel gauge indication also on the dongle, with 6 LEDs.
- To save power, the dongle turns off automatically when the Yamaha ebike is turned off.
- The battery capacity is stored in an EEPROM so that it is not lost when switched off.
- The data signal output has a short circuit protection.
- A NRF24L01 wireless module can be soldered for use as a battery monitor / fuel gauge / Wattmeter.
- The dongle is protected against reverse connection of the battery voltage.
- The dongle turns on only when the Yamaha motor is connected and turned on.
- When the dongle is turned on, 5V is present at connector J6. Maximum current 5mA.
F.A.Q.
- Does the battery BMS need to be removed?
No, the dongle is connected to the output of the battery, which is the output of the BMS. The battery BMS protects the battery and remains necessary. - Is the charger connected before or after the dongle?
Behind the dongle, as you can see in the Yamaha battery dongle wiring. - Why do all LEDs initially flash and then only the first LED?
This is ok and is because no settings have yet been made with the menu. The dongle thinks that the battery is empty. - Is it necessary to dismantle the motor?
Not, the wiring is on the outside. - Is it waterproof?
No, it is not waterproofed, you have to take care of that yourself. I use Kafuter K-705 silicone.
See Making electronics waterproof. - Can it be used with batteries of different chemistry, for example LiFePo4?
Yes, it is suitable for all kind of batteries up to 48V, but the maximum voltage never may exceed 60V. - Will the dongle only allow me to access the menus when connected to the bicycle?
That's not necessary. See also "Disabling the power-saving function". - Can you still use the original Yamaha battery?
Yes, if you leave the original Yamaha connector intact, you can use both batteries, but not simultaneously. - The connections have been soldered, has the dongle been used?
No, that's because of the test wires.
Using AMASS connectors
The connection cables must be soldered directly to the PCB. However, there is a possibility to use AMASS connectors. You have to purchase these yourself at for instance Amazon or AliExpress.
For use as yamaha dongle it is best to use these:
- Motor connector J3: AMASS XT60IPW male. The female cable part is the AMASS XT60I. There is an extra pin for the data.
- Battery connector J2: AMASS XT60PW-M male. The female cable part is the AMASS XT60-F.
 AMASS XT60I (L) XT60IPW (R)
  AMASS XT60IPW male
For use as Bluetooth Watt meter dongle use these:
- Connector J2 and J3: AMASS XT60PW-M male. The female cable part is the AMASS XT60-F.
 Optional AMASS XT60PW-M connectors
Please note that the + indication on this connector is incorrect, it is the battery - connection:
 The Amass + indication is wrong here
Dongle installation
You must have technical insight and be able to use a multimeter otherwise I can't help you if something doesn't work.
- The PCB dimensions are 49mm x 32mm.
- You must be able to solder accurately and neatly.
- The most logical place for the dongle is within the battery.
- Make sure you don't accidentally short circuit the data line with the 36V. The yamaha motor then breaks down (see: Protected data output circuit).
- The connection cables have to be soldered directly to the PCB.
- Make sure that the dongle is protected from water. You can electrically insulate the dongle with for instance plastic spray and heat shrink tubing. Make sure you keep the connectors free of spray.
- Please note that the program in the microcontroller chip may be erased if the area of the resonator X1 comes into contact with water or your fingers during use.
- See also: Troubleshooting.
Attention: In case of wiring errors or reversed battery voltage, the Yamaha system will break. So double check the wiring with a multimeter before plugging in the battery.
 Simple protection heat shrink tube
Soldering
Learn how to solder properly first if you have little experience, here is a good video: Soldering Tutorial for Beginners: Five Easy Steps.
- Use a soldering iron for electronics applications.
- The dongle needs much heat to get the tin to flow properly: use a large tip, minimal 3mm width.
- Use electrical solder with an integrated rosin core, preferably Sn60Pb40.
- The best temperature is 700F / 370°C.
- The wiring should look EXACTLY like the photos below.
- Work very neatly, don't make a mess or you won't be able to return the dongle.
- Be careful not to short-circuit the data pad to the M+, this will destroy the Yamaha motor.
- The data pad isolation is very sensitive and contamination will cause malfunctions. Therefore, remove solder resin here with a toothbrush and acetone or alcohol.
 Battery dongle wiring top side
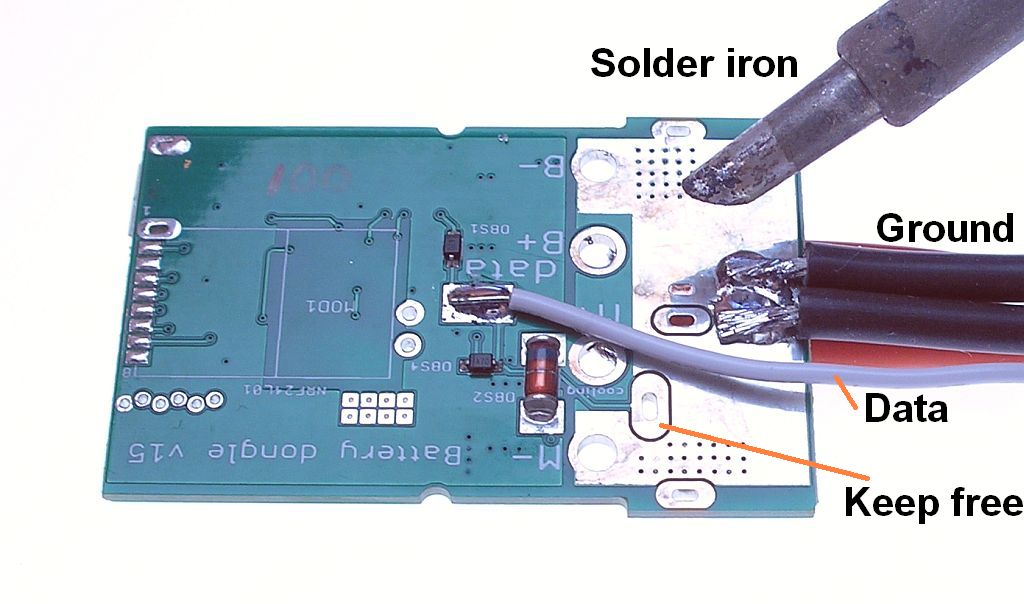 Battery dongle wiring bottom side
 Use a soldering iron with large tip and rosin core solder
 Poor soldering can cause short circuits and ruin the motor and dongle
Yamaha battery dongle wiring
The dongle should be connected to the 3-wire cable coming out of the Yamaha motor, that was previously connected to the Yamaha battery:
 Yamaha 3rd party battery hacking dongle connections
Note that the charger cable can no longer be plugged into the charge input of the battery. Because the dongle contains the coulomb counter for measuring the battery capacity, the charging current must also flow through the dongle. It is best to use the anti spark XT90S for the charge connector.
Charging
When the battery is fully charged, the dongle sees that the battery voltage is at maximum and the fuel gauge will be set to 100%. All LEDs flash as long as the battery is 100% full. View the menu system for the other options.
How to charge a removed battery?
When you remove the battery from the e-bike for charging, the dongle will no longer be connected to the Yamaha motor, and the dongle will have no power, due to the power-saving function. As a result, the dongle will no longer measure the charging current, and the LED bar will not rise. However, if you always charge the battery fully, there is no problem, because when the charge cutoff voltage is reached (default 41V), the fuel gauge will be set to 100%. If you would like to know the charging status in between, you must disable the power-saving function:
Disabling the power-saving function
This is ONLY necessary if the dongle needs to work without being connected to the Yamaha motor. Disabling the power-saving function can be done by jumper JP2, solder it with a tiny bit of solder. However, now the dongle will constantly draw power from the battery, which is approximately 12mA. If you don't want the battery to slowly drain, it should have with an on/off switch and you should turn off de battery when the ebike is not used.
 Disabling the power-saving function with JP2
Troubleshooting
- The dongle is connected but the LEDs are not lit.
Then there is no battery voltage or no communication with the Yamaha motor. - If the displayed capacity is incorrect.
The capacity is shown on the Yamaha display and via the LEDs on the dongle. The LED bar should decrease from 100% to 0% while driving. To test, you can speed up that process by temporary set the capacity to 1Ah via the menu. Then the display should quickly decrease from 100% to 0%. If this doesn't work, then probably the connections motor+ and bat+ are connected wrong. - If the displayed capacity doesn't increment during charging, but is still 100% when the battery is full.
The Yamaha system is not switched on during charging. Else you have to disable the power-saving function with JP2.
You have a dual port battery which is connected incorrectly. Connect the battery according to the drawing: Connections Dongle - Yamaha ebike dual port battery.
Functional test
With the following setup you can test the dongle without being connected to a Yamaha ebike. Connect the dongle to a 36V battery and the data, via a resistor of about 2200 Ohm, to a 5V power supply. The dongle should now be fully functional.
Example of other use
On my solarbike, the Maxun One, I want to use a Yamaha PW-X2 mid-drive motor. The problem is that the Yamaha battery is not suitable for my solar bike because:
- The PV panels can charge the battery with a current as high as 8A. Normal Li-ion e-bike batteries can’t stand this high charge current. I need LiFePO4 battery cells.
- The battery must allow simultaneously charging and discharging, this isn’t possible with the Yamaha battery.
Protected data output circuit
The Yamaha PW-SE data output circuit is not protected against short circuit to the battery +, the transistor TR320 will be blown up then (which can be replaced). That's why I reverse engineered the data output circuit. The dongle has, unlike the Yamaha motor, a protected data output that is protected against short circuits.
 Blown up transistor TR320 (EMG9) PW-SE Yamaha
Warning: E-bike batteries can be a serious hazard
With the battery dongle, you can use any battery on a Yamaha e-bike. But be careful when building a battery yourself or buying battery packs, they can be extremely dangerous. In New York alone, e-bike batteries caused 268 fires in 2023, resulting in 150 injuries and 18 deaths.
What many people don't realize is that batteries can spontaneously explode, even when not being charged, which happened in more than half of the cases.
Preferably buy batteries with a UL 2849 certification that meet strict safety requirements. Never buy cheap, unsafe batteries, such as MKEPA, as these often do not have meaningful safety features and can be life-threatening.
Investing in a quality battery is not only wise for the performance of your e-bike, but also for your safety and the safety of the people around you.
History
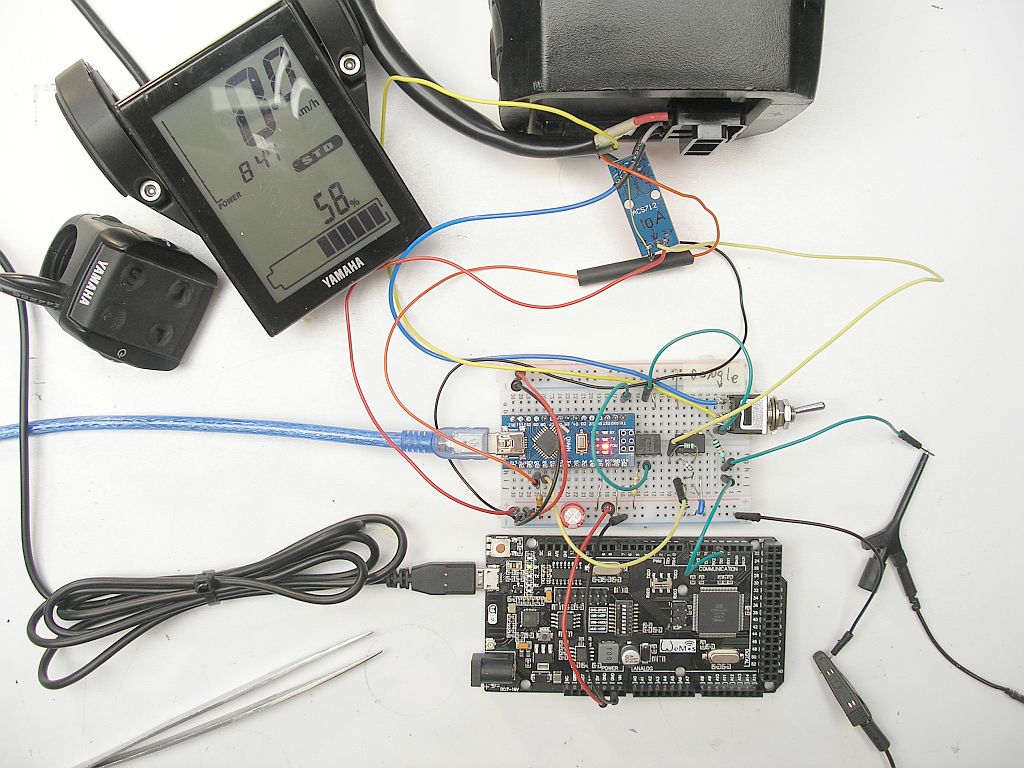
I started with the Yamaha dongle in August 2019. Many improvements have been made since then, see the earlier versions of the Yamaha dongle here:
Dongle during development
Links
https://endless-sphere.com/forums/viewtopic.php?f=14&t=114108


